In contrast to my beer pizza dough previously posted, planning is the key to this recipe being a success. You need to start the dough making process at least a day in advance, if you have 2 days then that’s even better.
Don’t be put off by the duration and don’t mistake the long process as a complicated process, it’s not. It’s a pretty simple recipe involving just 2 stages – the poolish and the final dough.
With a bit of patience and manual labour, you’ll reap the rewards with a great tasting pizza with a fantastic texture. It will be thin, yet robust in the middle, and light and fluffy on the outer crust.
The longer you can allow the cold proofing process, the better. Storing in a fridge and allowing a cold fermentation allows a more intense flavour in the dough as the yeast takes longer to do it’s thing.
Ingredients
This dough recipe requires just four simple ingredients:
- 300g Strong White Bread Flour
- 300g 00 flour
- 700ml water
- 20g salt
- 1g Active Dry Yeast
Method
Poolish
Poolish is believed to have been developed in Poland centuries ago as an alternative starter to sourdoughs. The starter method took off pretty quick and soon became popular in France for baguette making, before finding its way further south in Europe to Italy where it also became popular in pizza dough recipes like this one.
The poolish is a 100% hydration recipe. What that means is there is an equal amount of flour and water with a 1:1 ratio.
Add the full amount of water to a large bowl. Add in half of the active dry yeast and mix through. Gradually add in 700g of the 00 flour. You can do this by hand, or alternatively use a mixer on a relatively low speed.
Once mixed together, it should remain very wet as this is a 100% hydration mix at this stage. It shouldn’t take long to prepare the poolish. The main thing is to make sure there aren’t any lumps of flour but it’s not going to be beautiful at this stage, it will look messy and unfinished. Keep the faith. Cover and leave at room temperature for 2 hours.
Once the poolish has completed the first proof at room temperature, place in the fridge for 24 hours.
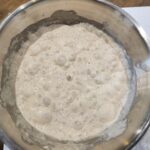
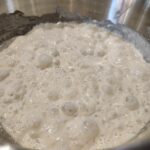
Remove from the fridge and uncover. You should have a wet bubbly dough, with small holes and pockets almost crumpet like in appearance. There will also be some larger bubbles present.
Your poolish is complete and you’re now ready for the next stage of the dough making process.
Final Dough
In a separate smaller bowl, pour in the remaining 300g of 00 flour, add in the 0.5g of active dry yeast and mix through.
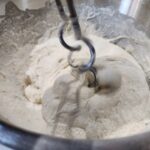
Add around one third of this flour / yeast mix to the poolish bowl and mix. Again, you can do this by hand but may find it easier using a mixer on a low speed setting. It’s a personal preference really.
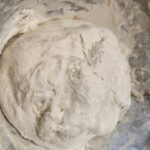
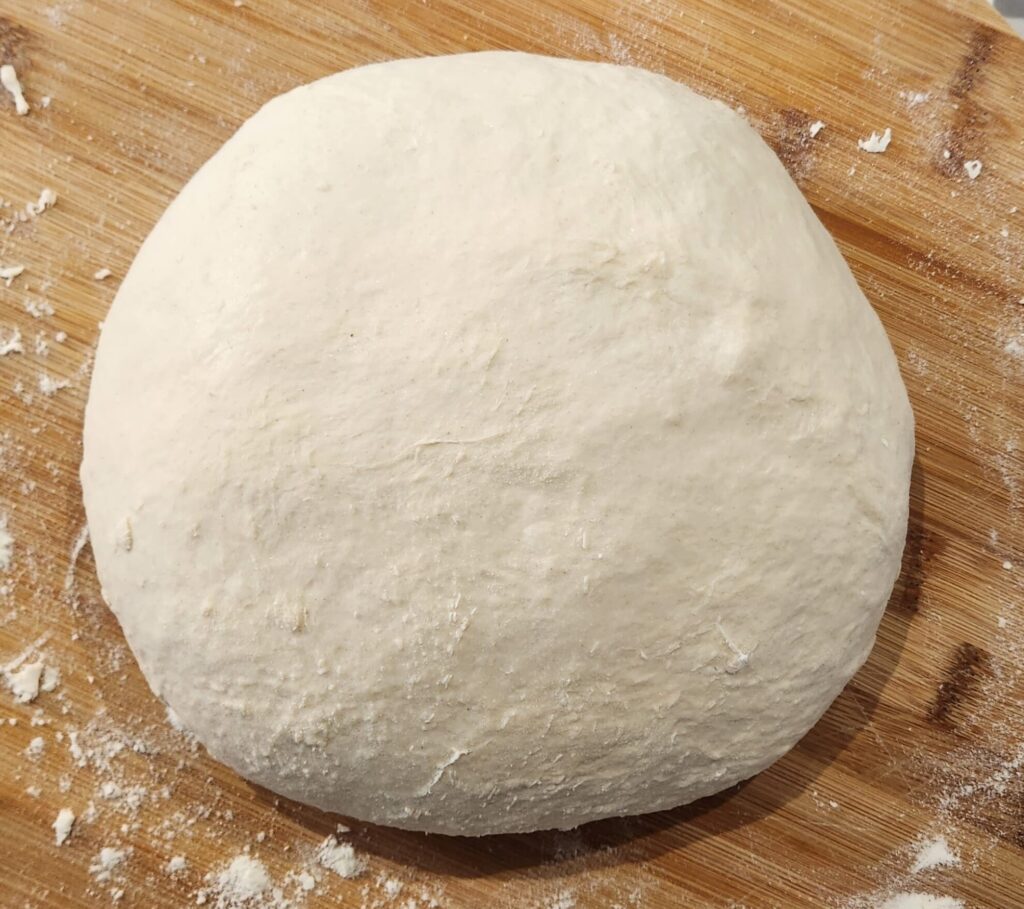
Now that we have a buffer, add in all 20g of the salt and then gradually add the remainder of the flour so that it is thoroughly mixed through and there are no lumps of flour. The dough should have a smooth, almost matte finish when complete.
Cover for 10 minutes before removing the dough from the bowl and kneading on a lightly oiled surface for 5 – 10 minutes. Return to a clean bowl, cover and place in the fridge for a further 5 hours to continue fermenting.
Once the fermentation duration is complete, remove from the fridge and divide in to 6 portions ready to be ‘balled’. For equally sized pizzas this needs to be quite accurate so grab a set of scales to take the full weight before dividing by six. This recipe normally makes approximately 6 doughballs, each weighing about 290g.
After you’ve balled up, place in a container with a lid or any other suitable method you use, and allow to rest at room temperature for 2 hours before taking out to stretch, top, bake and devour!

Cold Ferment Poolish Pizza Dough
Ingredients
Poolish
- 700 g Strong White Bread Flour
- 700 ml Cold Water
- 0.5 g Active Dry Yeast
Final Dough
- 300 g 00 flour
- 20 g Salt
- 0.5 g Active Dry Yeast
Instructions
Poolish
- Add the water and yeast to the bowl.Depending on what scales you have, it may be difficult to measure out 0.5g. As a rule of thumb, around ⅕ of a teaspoon should be close enough in accuracy.
- Gradually add in the flour. You can mix by hand or using a mixer with a dough hook on a low speed setting. Don't be tempted to rush this part by putting it on a high speed.
- The mix will be quite rough in texture and very wet as this is a 100% hydration recipe. Once the flour, yeast and water are fully combined, cover and leave for 2 hours at room temperature or somewhere warm like your hot water cylinder cupboard if you have one.
- After this first proof, transfer to the fridge for a minimum of 24 hours, and a maximum of 48 hours.
Final Dough
- Remove your poolish from the fridge. It should be really bubbly, almost frothy.
- Add around ⅓ of the 00 flour and mix by hand, or mixer on a low speed.
- Add in the salt to the poolish and mix through before gradually adding the rest of the flour and mixing through with a mixer on a low speed.Cover and leave at room temperature for 10 minutes.
- Take the dough out of the bowl and knead for around 5 to 10 minutes on a lightly oiled surface.
- Return to a clean bowl, cover and put back in the fridge for 5 hours.
- Take the dough out of the bowl and place on to a lightly flour surface before splitting in to 6 equal sized pieces.You can do this by eye but its best to measure the total mass of the dough and divide by 6 to ensure they are actually all the same size or you may notice differences later on during stretching.
- Ball up the 6 pieces of dough. You can do this by pulling up a quarter of the dough and pushing it into the centre. Repeat this 4 tips and finish of with a little twist and pinch underneath.Cover the dough balls for around 1 ½ hours.
- One at a time, take a dough ball out of the box or wherever you're storing them.Roughly scatter some cornmeal / semolina on the work surface and press you fingers down across the dough, stretching out towards the crust. Don't use a rolling pin to stretch or you'll lose all of the air in the dough that you've worked hard to create.Using your fingers on one hand, and the side of your palm on the other, rotate the dough on the work surface to stretch out. You should get a pizza base around 12 inches if weighed correctly.
- Top, bake and enjoy!If you're using a woodfired oven or portable pizza oven (Ooni, Roccboxx etc), it should take just 1 ½ minutes or so to cook fully.If you're using a conventional oven, preheat it on the highest setting. Put a steel pizza tray in the oven whilst preheating. After the oven is preheated, take the pizza tray out of the oven and place on a heatproof surface or cooling rack. Transfer your stretched dough to the tray, top and return to the oven. It will take around 8 - 10 minutes to cook fully. Keep a close eye on it during the cooking process and turn every 2 minutes or so.


2 Comments
Pingback: Score Big with this delicious Dartboard Pizza - Dough Your Own Way
Pingback: Mac n Cheese Pizza: The Perfect Comfort Food Fusion - Dough Your Own Way